1. Install and Configure
Download KinectToPin and/or sample project data from GitHub.
Installation instructions are here.
If you want to specify output settings for the application, the features page explains your configuration options.
2. Plug in your Kinect and Launch the KinectToPin Application
If you have an audio file (wav/mp3/aff) you want to reference while recording, drop it in the “dialogue” folder in the directory where you installed KinectToPin before you launch the application. The XML file you generate will note the reference clip’s filename, which can help identify the track data at a later point.
3. Scene Setup
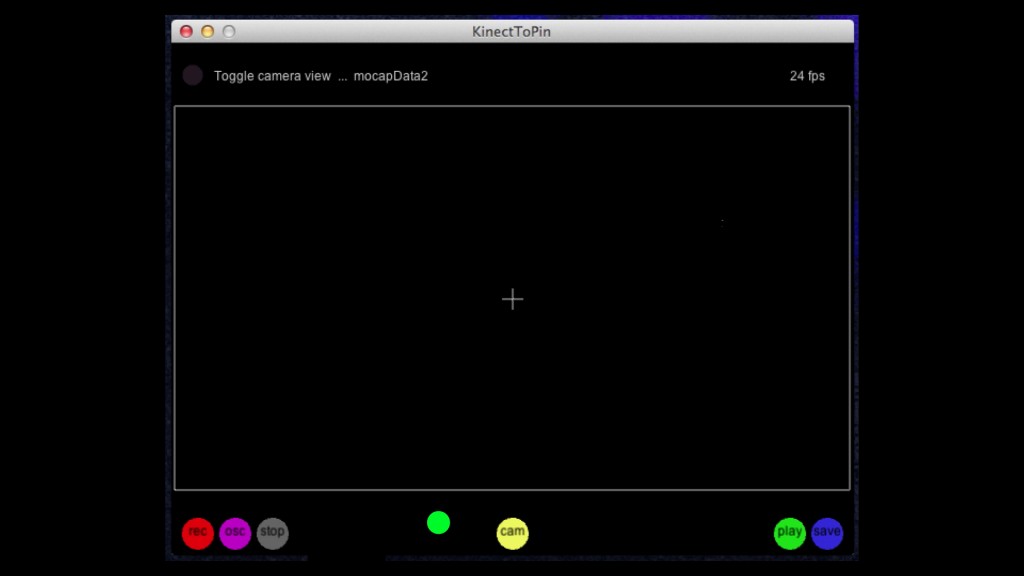
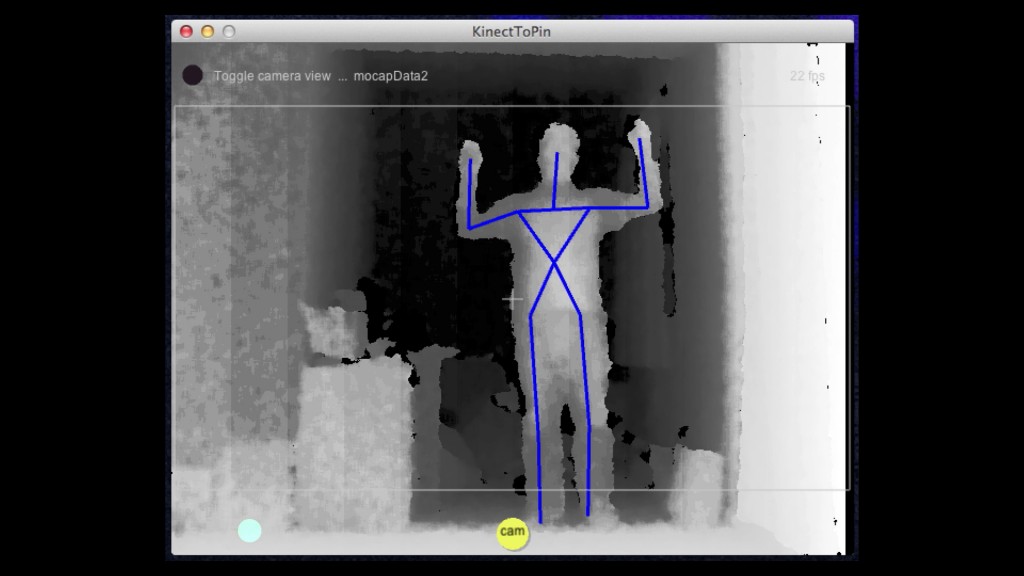
Press the “cam” button to set up your scene. Position the Kinect so that it can see your full body (including your feet!) — otherwise it tends to get very confused. Once your Kinect is positioned properly, stand where it can see you and raise your arms in “cactus pose” to calibrate and begin tracking your skeleton. Your skeleton will appear as blue lines in cam mode.
4. Record a Track
It’s time to start recording. Leave cam mode, then click “rec” to record. Move far enough back from the Kinect that it can see your head and feet, and if you’re properly calibrated it will start recording your motion. You still have to face the Kinect to capture, but you can reposition everything later.
Motion Capture Tips:
There are actually two record modes, SimpleOpenNI and OSCeleton. SimpleOpenNI (the red “rec” button) will give you much better results.
If you have a standard presentation remote, it makes recording yourself a lot easier. The top button (page down) will start and stop cam mode, and the bottom button (page up) will start and stop recording.
5. Create Template Comp in AE
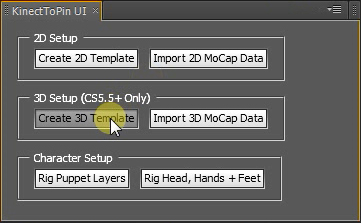
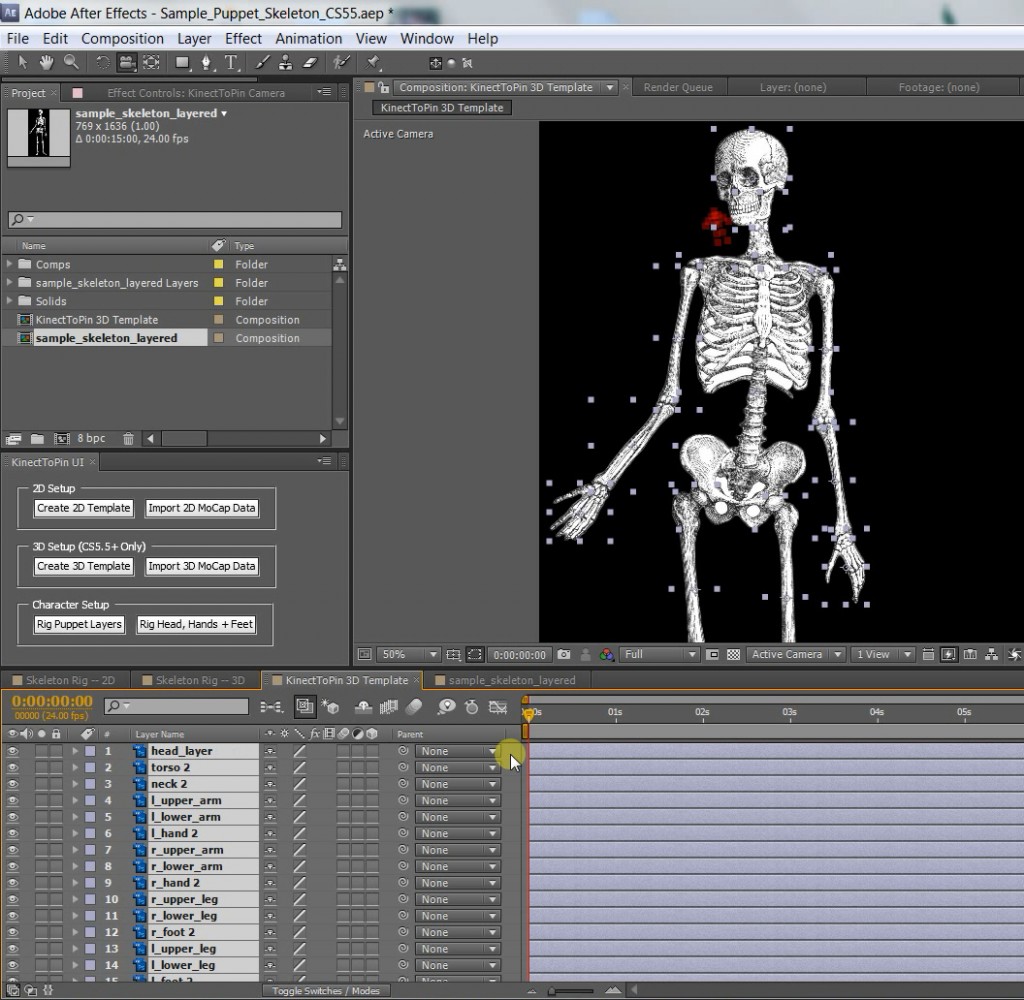
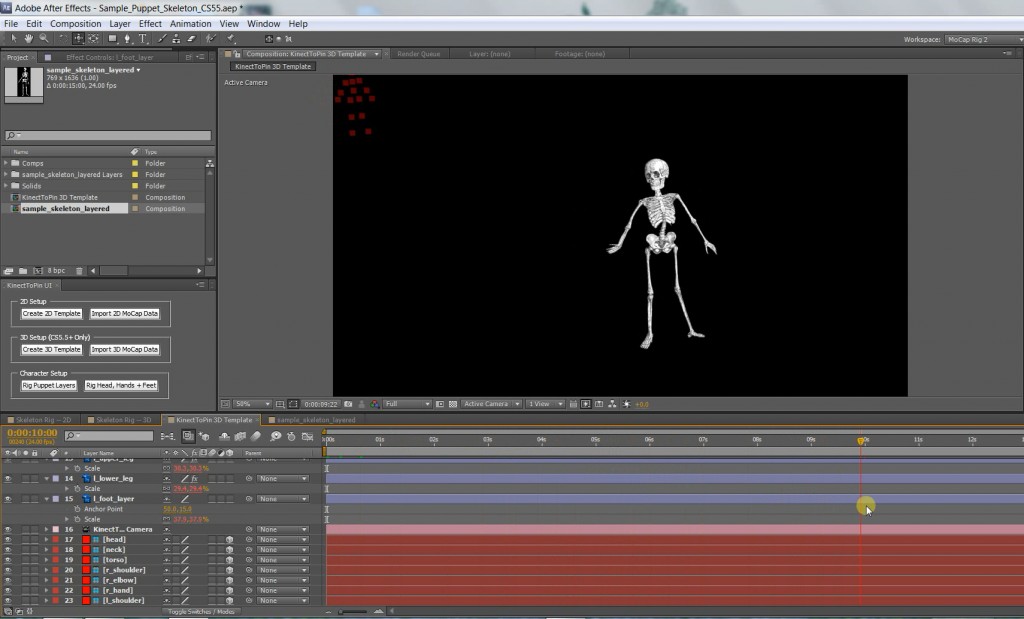
Create a template — 2D or 3D — via the KinectToPin After Effects UI panel. This feature creates a new comp containing a layer for the mocap data to live on, a set of control nulls for you to connect your character to, and, if you’re using the 3d version, it creates a camera for adjusting the angle and position of your puppet. It also adds all the relevant smoothing, scaling and layer space transformation expressions automatically.
6. Import Motion Track
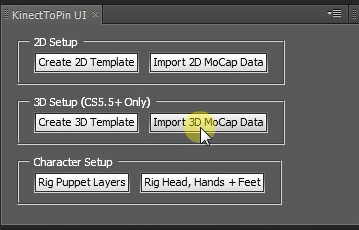
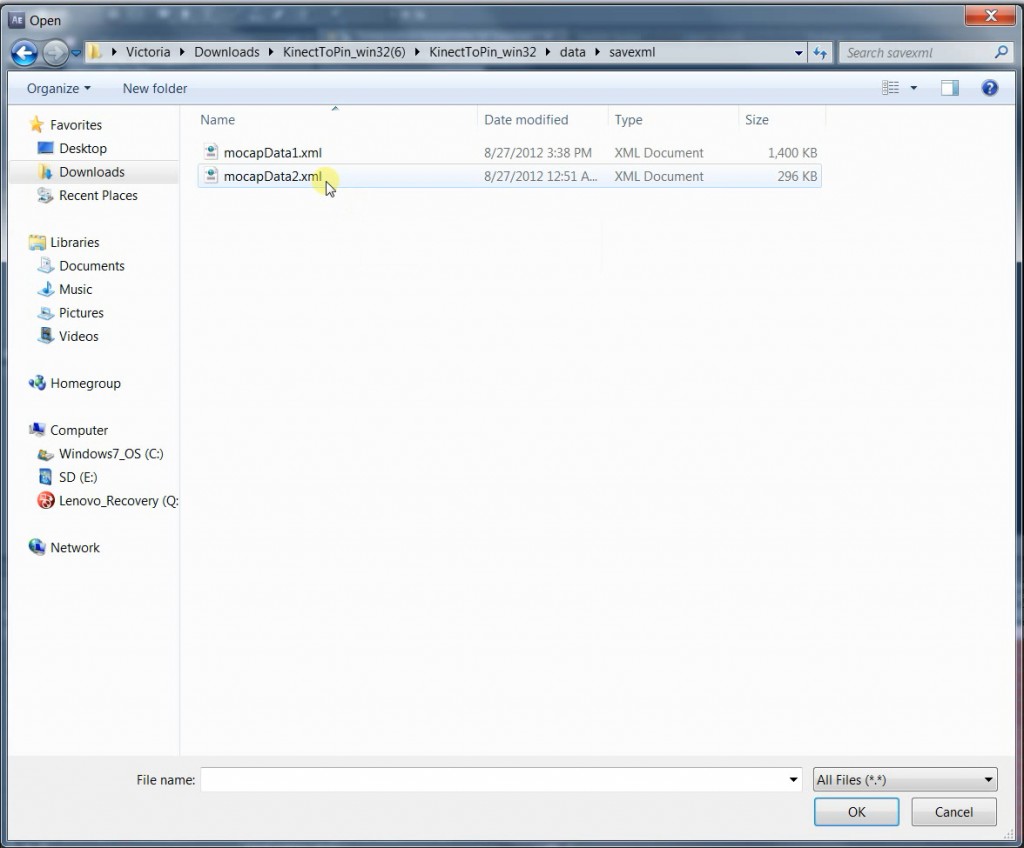
Click “Import 2D MoCap Data” for a 2D comp or “Import 3D MoCap Data” for a 3D comp to import the XML file of your track from KinectToPin’s “data/savexml” folder. The automatic XML import currently works best for short tracks (it’s really slow), so if you’re recording for longer stretches of time you should export a text file of copy/pasteable point control keyframes from the KinectToPin application (via the “save” button) instead.
7. Import or Create Your Character Layers
Import or create your character layers. Make sure they’re nice and high-res. If you use shape layers, make sure to precompose those before you rig. Important note: character layers in the 3D template shouldn’t actually be 3D layers.
8. Add and Label Puppet Pins
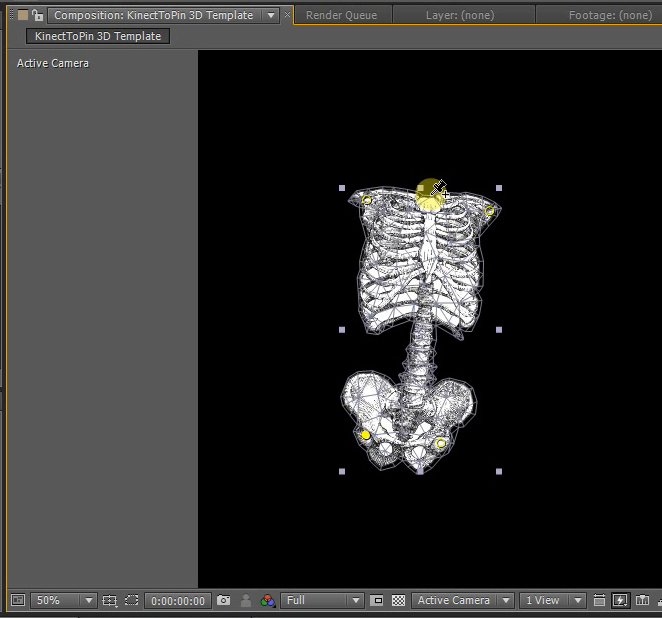
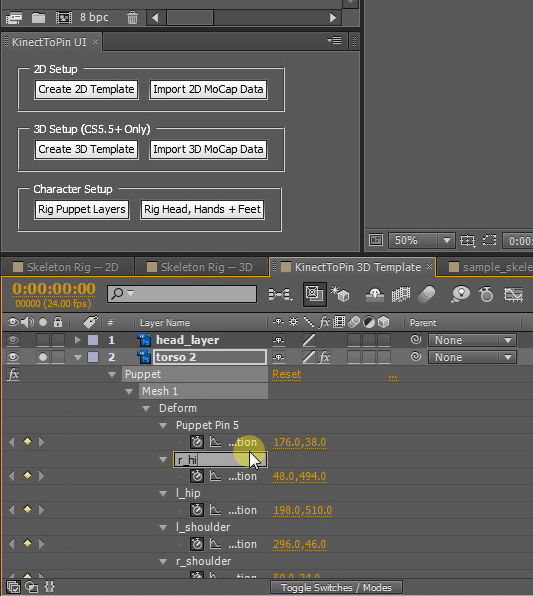
Add puppet pins to your character layers and rename them to match the control nulls they refer to.
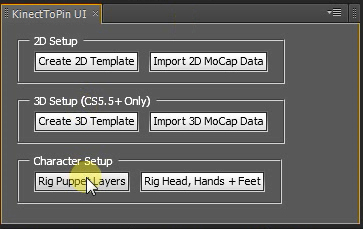
9. Click “Rig Puppet Layers.”
Don’t worry if things look a bit wonky at first. Select all the character layers and scale them down to fit.
10. Label the Head, Hand and Foot Layers.
Label the head, hand and foot layers in the same format as the control nulls, but with “_layer” at the end: e.g. “r_hand_layer” or “head_layer”.
11. Connect Head, Hands and Feet to Control Nulls.
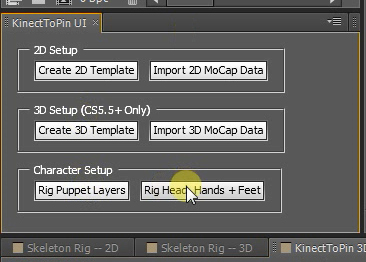
Adjust the anchor points of the layers to the correct position and click “Rig Head, Hands + Feet.” These layers will rotate automatically, but you can keyframe custom rotation on top of that.
12. Scale and Position your Character
Tweak your character layer scale settings until things look proportional. If you’re using the 3D setup, adjust the camera to position your character. If you’re using the 2D setup, move the control nulls as a group.
13. Tweak Pin Position
If you need to reposition a source pin to better fit the shape of your character, move its control null. Any adjustments you make will be maintained — even if you replace the motion track entirely.
And that’s about it! Your character should be ready to go. Let us know in the comments below if anything’s confusing or seems incorrect.



9 comments
Announcing the all-new KinectToPin! | AExperiments says:
Aug 28, 2012
[…] really excited by how far this project has come. Check out “Using the New KinectToPin“ for detailed instructions for the new version — they’re a lot shorter than the […]
moritzhorn says:
Nov 8, 2012
“Create a template — 2D or 3D — via the KinectToPin After Effects UI panel. This feature creates a new comp containing a layer for the mocap data to live on, a set of control nulls for you to connect your character to”
Hello!
I do get the Solid called mocap but my template comp doesnt contain any nulls!
Neither im abled to import the .xml data.
Im using AE cs5.5.
Thanks in advance
moritzhorn says:
Nov 8, 2012
Ok, figured out that english AE version is requiered.
Is it possible to add a picture as overlay to the cam mode?
That option would help a lot to stack the kinect frame with a video camera frame.
Victoria says:
Nov 8, 2012
Thanks for letting us know what was wrong! If there’s enough interest we can look into translating it for other versions of AE.
What sort of overlay do you mean, exactly?
Adam says:
Jan 16, 2013
I cant seem to get the camera to calibrate (i make sure it can see my feet and head. Any help?
adam says:
Jan 16, 2013
I got it, I needed to run it in compatibility mode ( i am on a 64bit machine) It works if I set compatibility to Windows XP (service Pack 3).
To run it in compatibility mode, you need to right click the KinectToPin program > Go to properties > In the tabs at the top select compatibility and tick ‘Run this program in compatibility mode for:’ and select Windows XP (Service Pack 3) from the drop down menu > click ok.
Hope that helps someone.
Victoria says:
Jan 18, 2013
Huh, that’s very interesting! I’m on a 64-bit machine as well and it just works for me. Glad you got it working though — that’s the important part. 🙂
Aaron says:
Jan 17, 2014
Thanks so much Victoria and Nick for making this amazing plugin! Everything seems to be running great on my Macbook Pro running Mavericks and After Effects CC. I have been using it for an animated show I am working on.
Quick question, so there is no way to do collapse transformations and still have your kinect to pin comp in 3d space? Like for example say I wanted to do a long zoom in with a puppet lit using the 3d lighting inside of After Effects. Starting with the camera showing a wide scene and then zooming into an ultra close up of the face of the puppet. My head layer is a pretty hi res photo inside or another comp with separate animated lips and eyes if that makes a difference. But I would need collapse transformations to get the full resolution? Thanks guys!
Victoria says:
Jan 17, 2014
Great to know you have it working smoothly on Mavericks — some other people have had issues. The collapse transforms situation is tricky, because even when you’re working with vectors the puppet mesh is set at comp resolution. 3D gets it even more confused. For 2D the trick is to have giant assets, add mesh/pins, scale down, then enable collapse transforms on the character precomp when you’re compositing. If that won’t work with your 3D setup, then the easiest workaround is to have a huge puppet comp.